Because the Focus, so Professional

Home » Products » Projectors » Laser Projectors » 12000 lumens Laser Projector 3D Mapping Projector large Scale outdoor building Projection

Product Details

loading

Share to:
sharethis sharing button

12000 lumens Laser Projector 3D Mapping Projector large Scale outdoor building Projection

LCD projectors feature three LCD panels which cast an image using a primary colour: red, blue, and green. All three are simultaneously projected to display the resulting image in its full colouring. Price varies quite a bit, from a few hundred to the upper thousand.
Availability:
Quantity:
  • MX-X120U

  • SMX

  • 8528691000

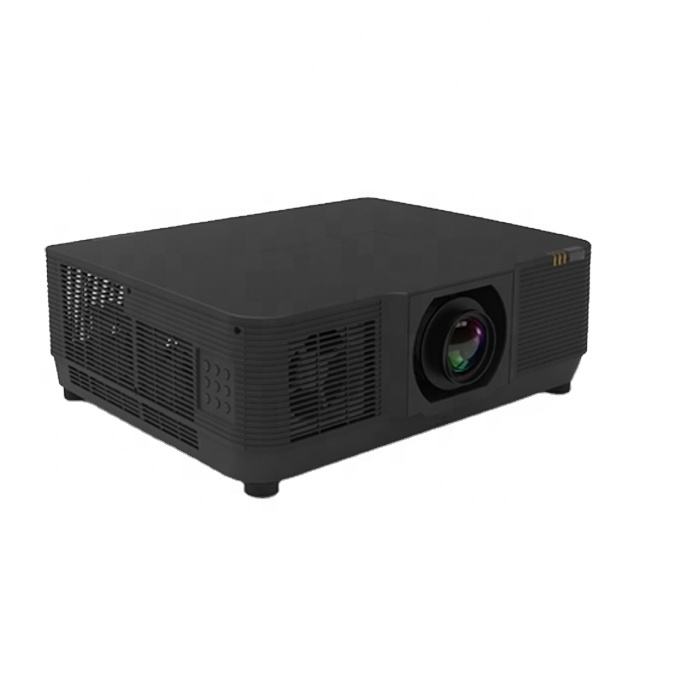
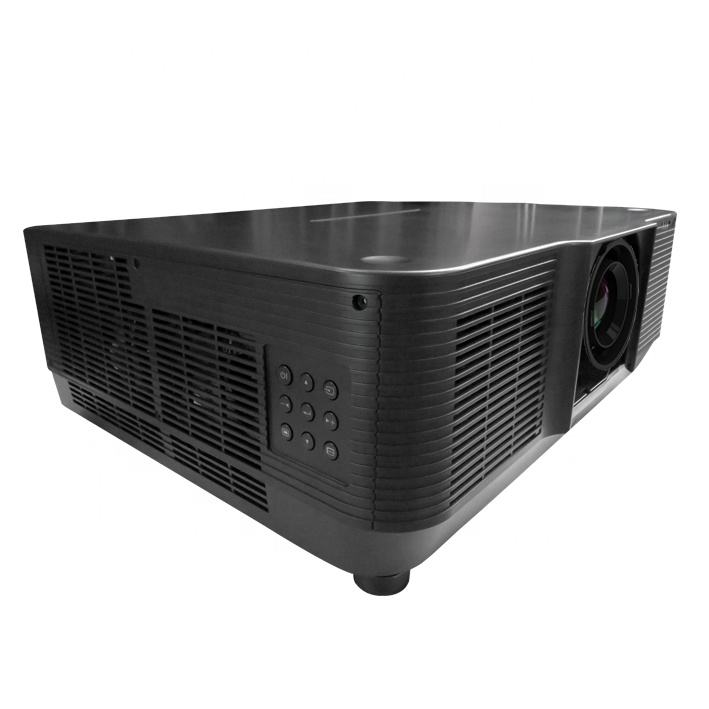
Ultimate Performance and Versatility for Large Public Venues

SMX Large Venue Projectors feature ultra-high brightness from Laser and dual-lamp light sources, superb image quality, and enduring performance for mass public spaces, with powerful installation flexibility for museums, stages, and gala events.

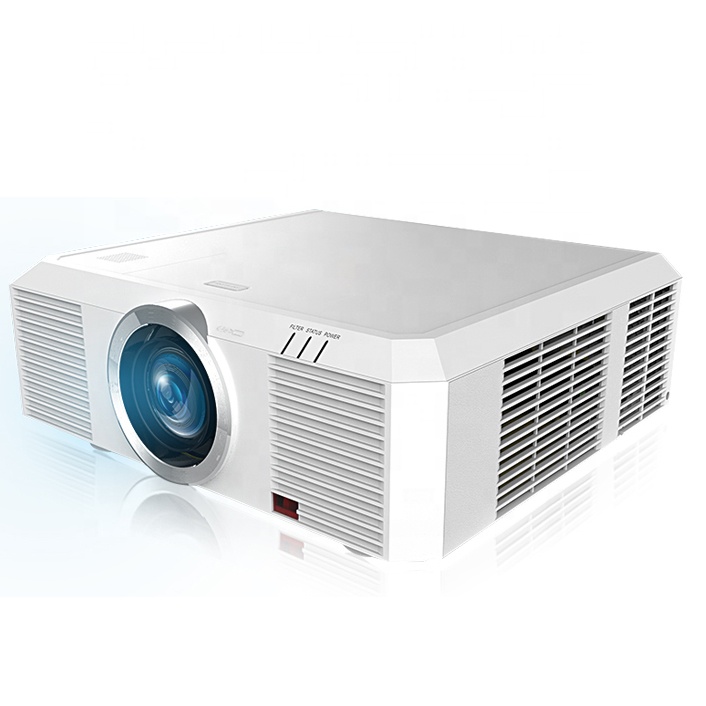
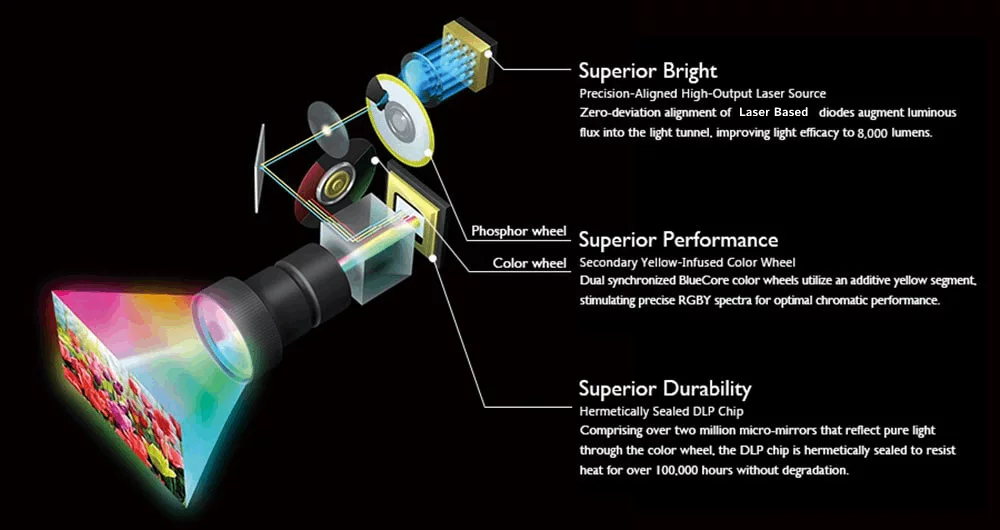
·      Ultra-High Brightness from 5000-15,000 ANSI Lumens

·      Enduring Reliability from Laser and Dual Lamp Technology

·      360° and Portrait Projection Accommodate Nonstandard Spaces

·      Optional Lenses for Diverse Applications


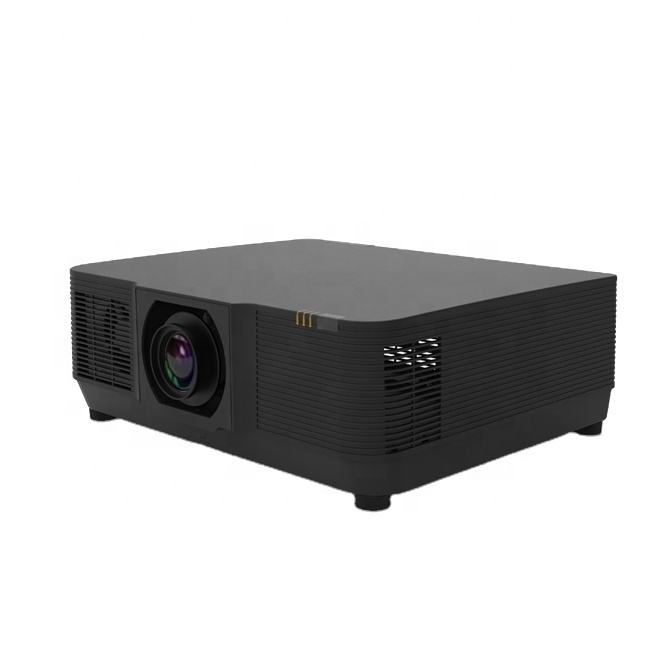
Laser Projector MX-X120U not only pumps out up to 20,000 lumens but also boasts sealed optics and a laser light engine that can mean a long and maintenance-free life.
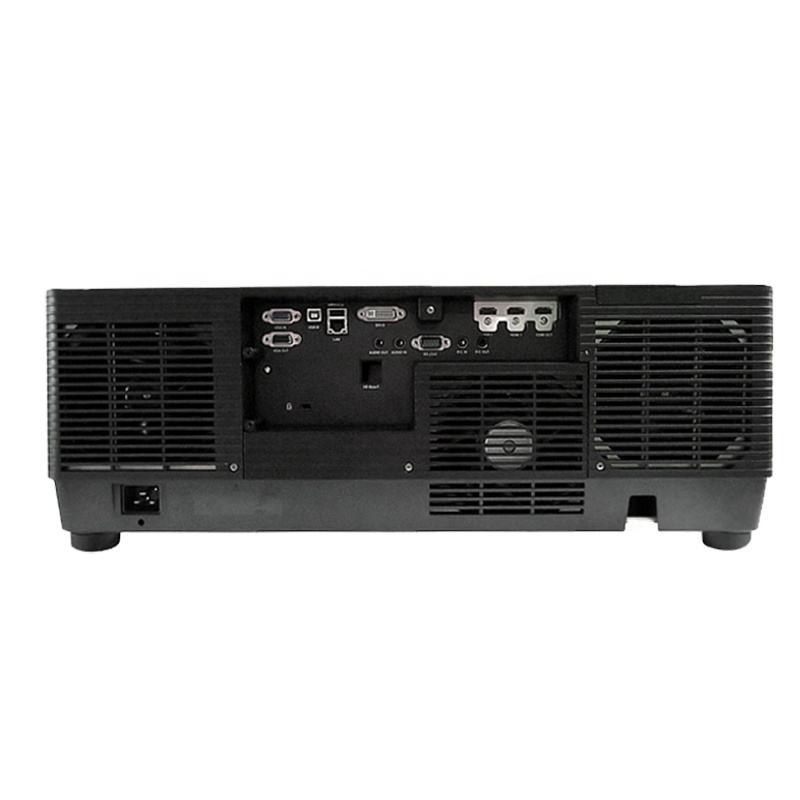

laser 3

Connections:


* DisplayPort Version 1.3
* HDMI 2.0 (x2) with HDCP 2.2
* Computer RGB in (x2, 15-pin D-Sub)
* RS-232C Serial Port
* USB (Type A, for accessory power, mouse, service)
* Wired LAN (RJ-45)
* HD Base T In (RJ-45)
* HD Base T Out (RJ-45)
* Audio in (3.5 mm)
* Audio out (3.5mm)
* 3D Synchronization (mini DIN 3 pin)
* Remote Control extension (3.5mm)

connection


Main SpecProjector TypeLiquid Crystal Display 3x0.76"WUXGA
Chip Size3*0.76'
Native ResolutionWUXGA (1920×1200)
Brightness12,000 Lumens
Uniformity90%
Contrast100000:1
Native ResolutionWuxga (1920×1200)
Edge Blending3D Mapping
4KSupport
Aspect Ratio16:10:Native / 4:3 Compatible
Light SourceTypeLaser Technology
LifeStandard :20000 hours   Eco   Mode:25000hours
projector lensProjector   Lens1.3-3.02:1/2.3x  (20000)
Throw Ratio(0.36~5.50)
Optional LensAvailable
Keystone CorrectionH±50°
V±30°
Projection MethodCeiling,Front,Rear
InputDVI-Dx1
HDMI 1.4(SupportHDCP*3)x1
15-pin Mini-Dsubx1
HDBaseT*4x1
Wired Remote x1  3.5mm
RJ45×1(LAN Control)
RS232(D-sub 9pin)x1
USB-A*1 (5V/1.5A) USB-B *1
3G-SD *1 (Option)
Output15-pin Mini-Dsubx1
HDMI 1.4(Support HDCP*3)   OUTx1
3D-Sync x1
Power Input( Voltage&Frequency)100-240V  AC±10%,50/60Hz
Power ConsumptionNormal:850W,ECO:750W
Case MaterialMolded Plastic
Standby Power Consumption<0.5W
Dimension DxWxH600*218*503mm
Net WeightAbout 28.5 kg
NoiceNormal:35dB  ECO:33dB
Working Temperature*5High   Altitude0m-2500m(>1500m Using High Altitude Mode)
Temperature5-40ºC,
Humidity10%-85%
AccessoriesAAA Battery ×2,Remote Control ×1,Power   Cable×1,VGACable ×1,CD-ROM(User Manual)×1, Quick installation manual,   warranty card, Lens cover


H53f1638e59094041b7b845242da03b07h


Remove the lens

Preparation:
1.  Turn on the projector to display the image.
2.  Hold LENS RELEASE button for more than 2 seconds.
The lens position will be moved to the original position.
3.  Turn off the main power switch and unplug the power cord.
4.  Wait until the projector chassis is cooled enough to handle.
5.  When the release button at the bottom of the lens mount on the front panel of the projector is fully pressed, turn the lens counterclockwise.
*  Lens release
3.  Slowly pull down the lens from the projector.
*  After removing the lens, install the lens cover (front and back) that comes with the lens
before storing the lens.
*  If no lens is about to be installed on the
projector, please install the dust cover attached
to the projector.
*  Do not touch or remove any other component except the lens and parts related to it.
Otherwise, you may experience product failure, electric shock, fire, or other incidents.
*  Make sure model of the lens is compatible with your projector before installing it.
*  When replacing the optional lenses, it must be done by a professional.During the replacement process, pay attention to mechanical damage and thermal burns of the lens.
*  For details on lens and its installation, please call local dealers.
*  Be careful in removing the lens. Do not drop it.
*  When replacing the optional lens, just for safety reasons, please be sure to cut off power to avoid electric shock fire and other safety accidents.


Previous: 
Next: 

Quick Navigation

Contact Us
Copyright © 2018 Shenzhen Smax Screen Co. Ltd. All Rights Reserved.Support By Leadong.